Breaking In Men's Hiking Boots: Fast-Track Methods That Actually Work
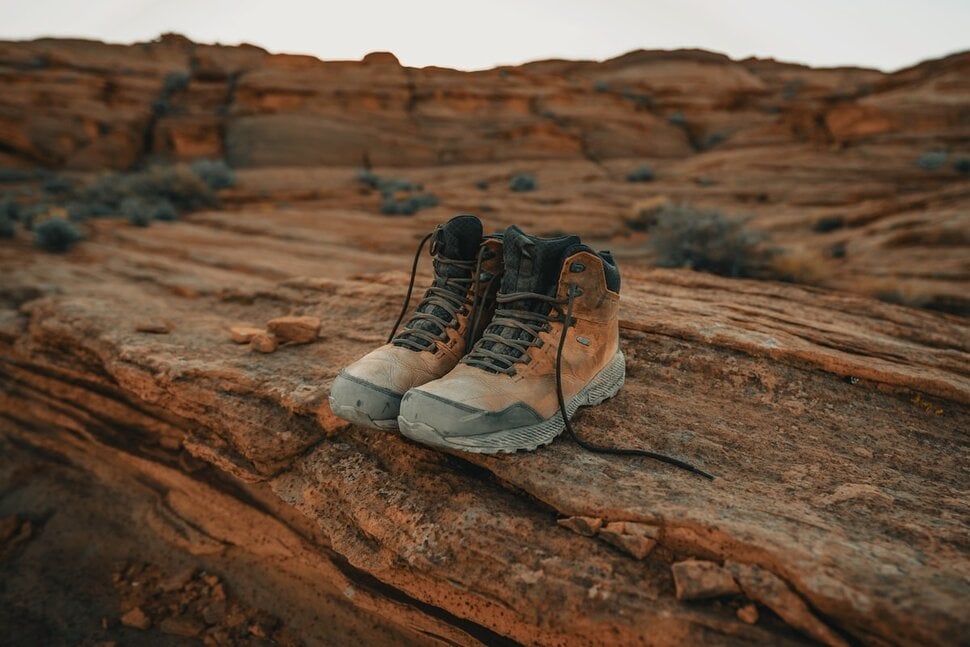
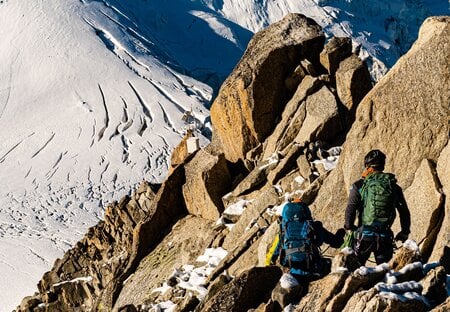
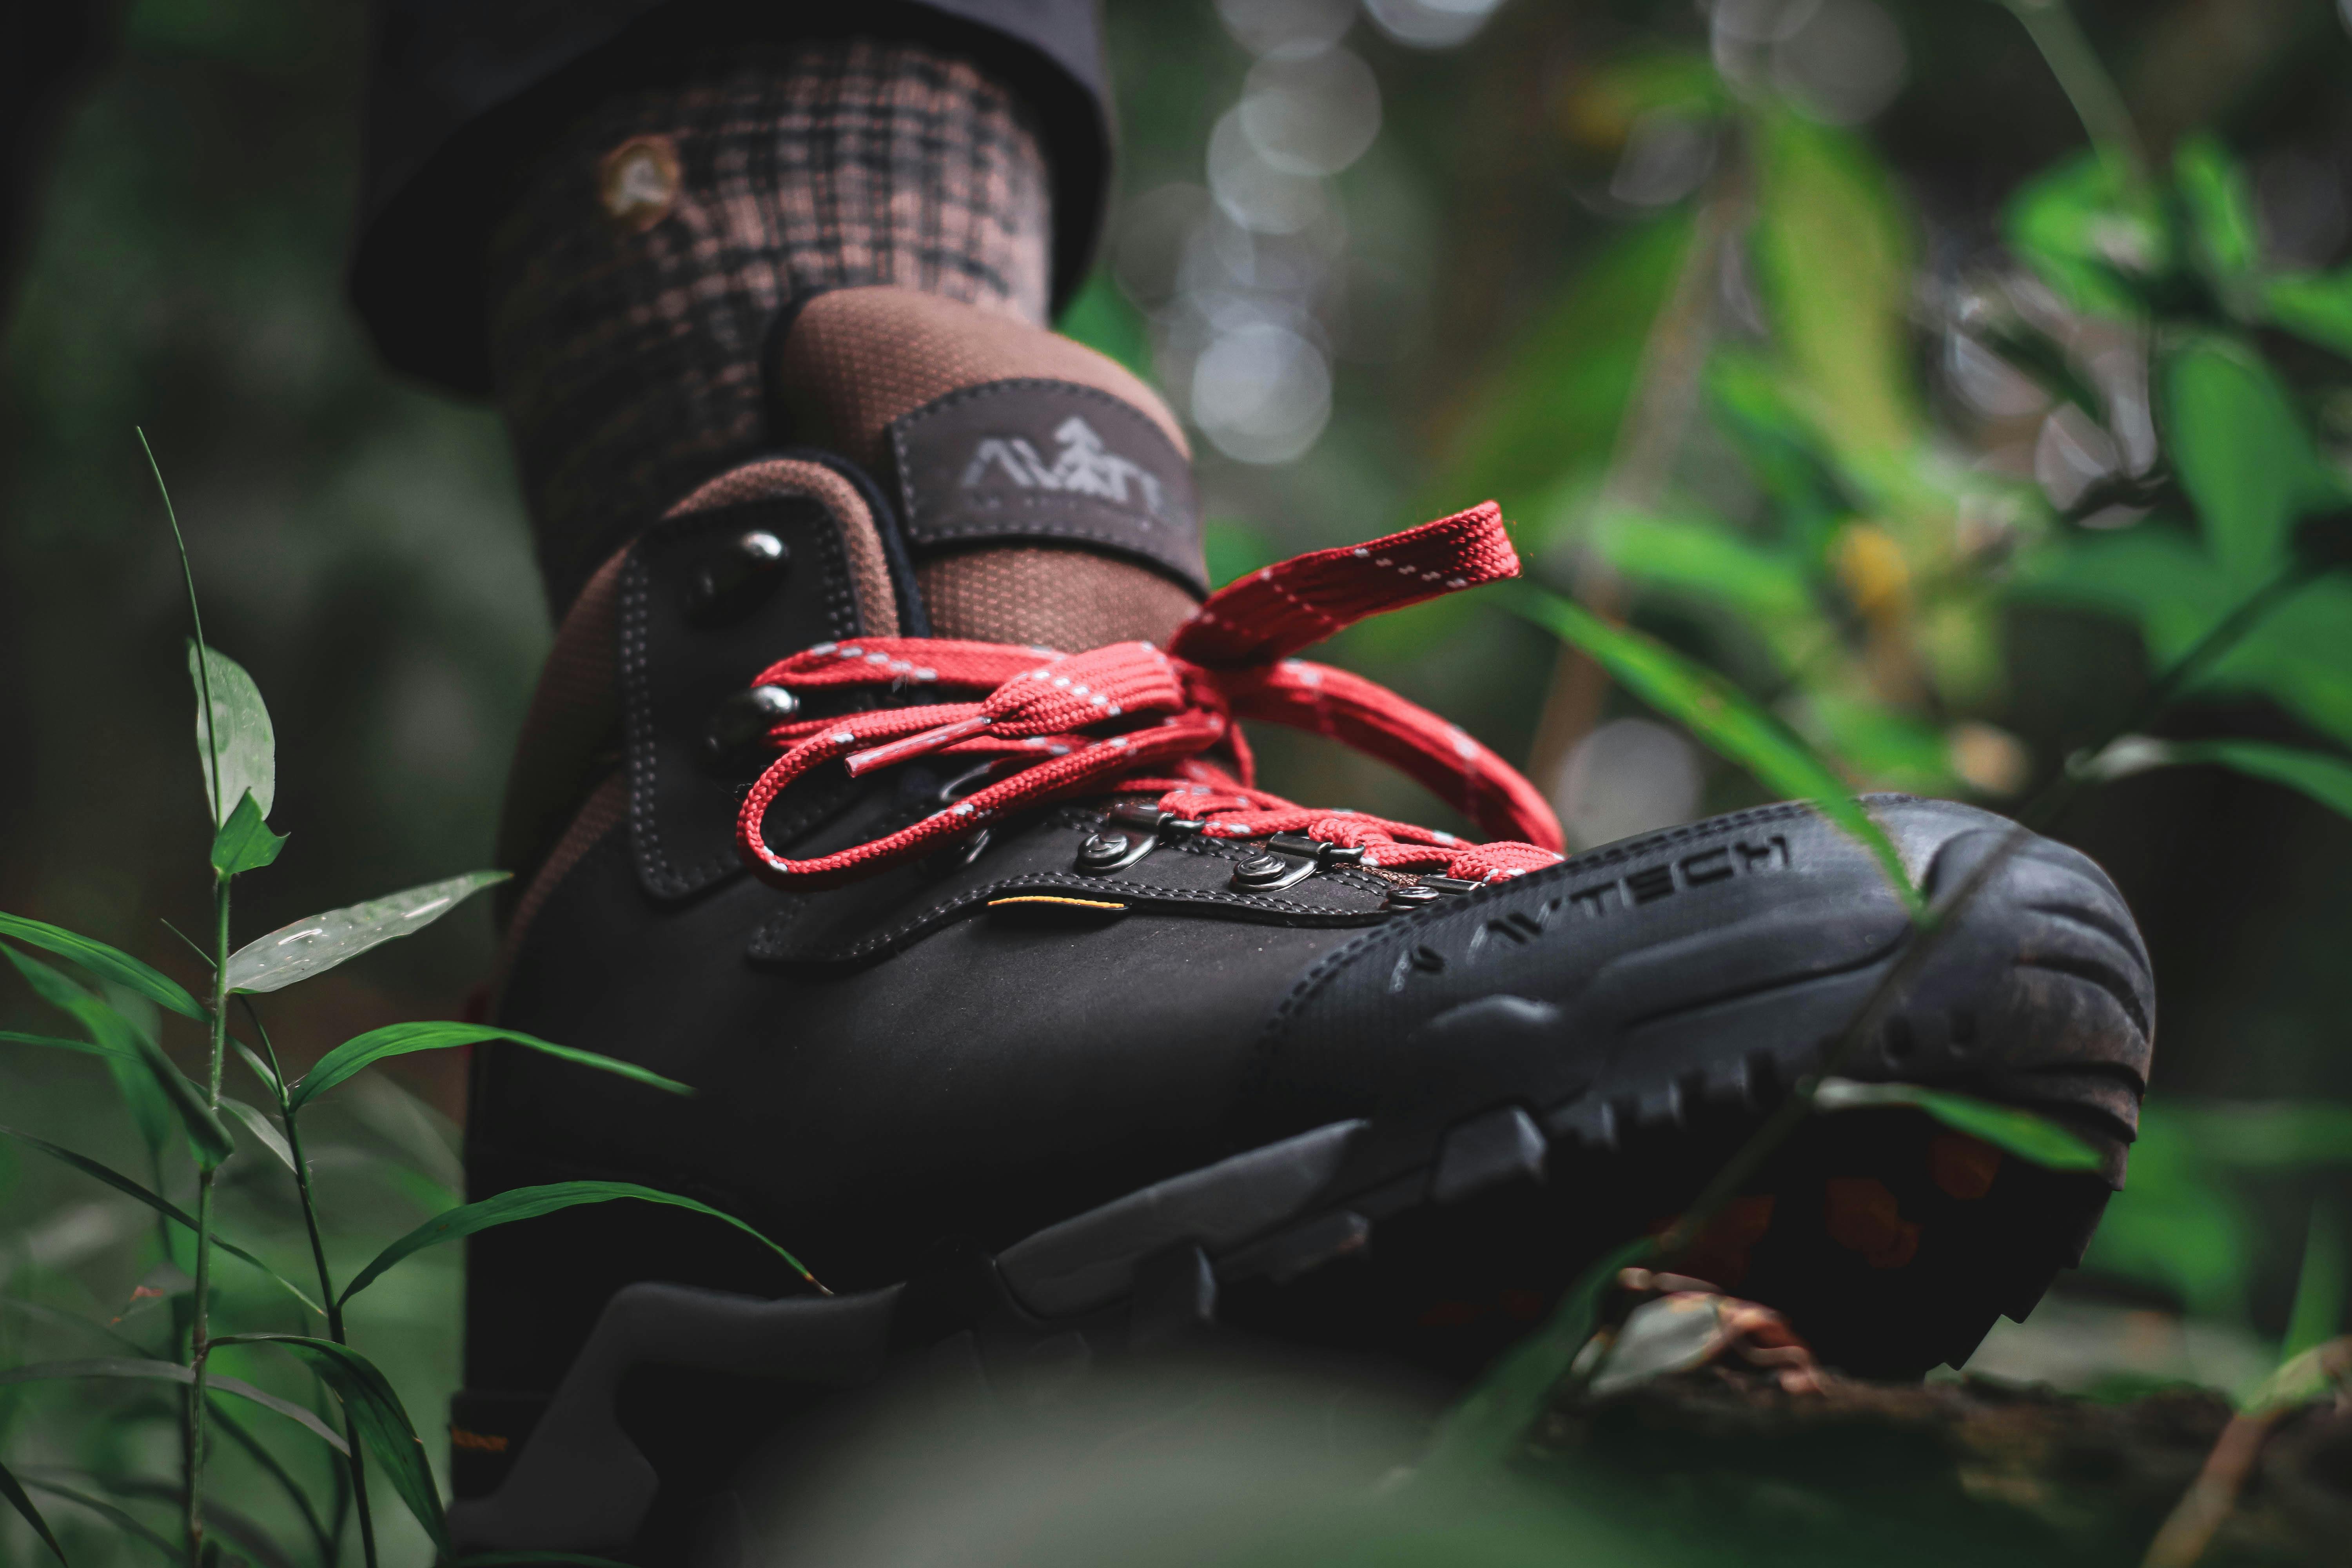
New hiking boots are stiff for a reason. Quality leather and reinforced midsoles give long-term support, but they need time to flex to your foot. Skipping break-in is the fastest way to ruin a backpacking trip, we see it every season when someone hikes Katahdin or the Long Trail in fresh-out-of-the-box boots and limps back to the car.
This guide covers how to break in men's hiking boots properly, how long it should take, and when to recognize that what feels like a break-in problem is really a fit problem.
Why Men's Hiking Boots Need Different Break-In Than Trail Shoes
Men's hiking boots are typically built with stiffer midsoles, taller ankle collars, and thicker leather than trail running shoes or many women's models. That construction protects your foot on rough terrain but takes longer to soften. Knowing which category your boot falls into tells you how much time to plan for. A weekend trip with brand-new leather boots is asking for trouble; a weekend trip with broken-in light hiking shoes is fine. If you're moving up from trail runners for the first time, our guide on transitioning from trail runners to hiking boots covers what changes.
The Break-In Timeline: What to Expect for Different Boot Types
| Boot type | Materials | Break-in time |
|---|---|---|
| Trail running shoe | Mesh upper, flexible sole | 0–2 hours |
| Light hiking shoe | Synthetic or split-leather | 5–15 miles |
| Mid-cut day hiker | Mix of leather + synthetic | 15–25 miles |
| Full-grain leather backpacking boot | Heavy leather, stiff midsole | 20–40 miles |
| Insulated winter boot | Leather + insulation layers | 10–20 miles |
Start the clock the day the boots arrive. Don't wait until the week before a trip, a 30-mile break-in spread over two months is much kinder to your feet than 30 miles crammed into two weekends.
At-Home Break-In Techniques Before Hitting the Trail
The first miles of break-in shouldn't be on a trail. Start at home.
- Wear them around the house. Lace them up for an hour or two while doing normal household things. This lets the leather start to flex, and if something feels really wrong, the boots are still in returnable condition.
- Walk on pavement and easy paths. Once they feel comfortable indoors, take them on short flat walks. Build up to an hour at a time before adding elevation or rough surfaces.
- Skip the old myths. Don't fill them with water, soak them, freeze them, or microwave them. These techniques can damage modern materials and void the warranty. The proven path is miles, not hacks.
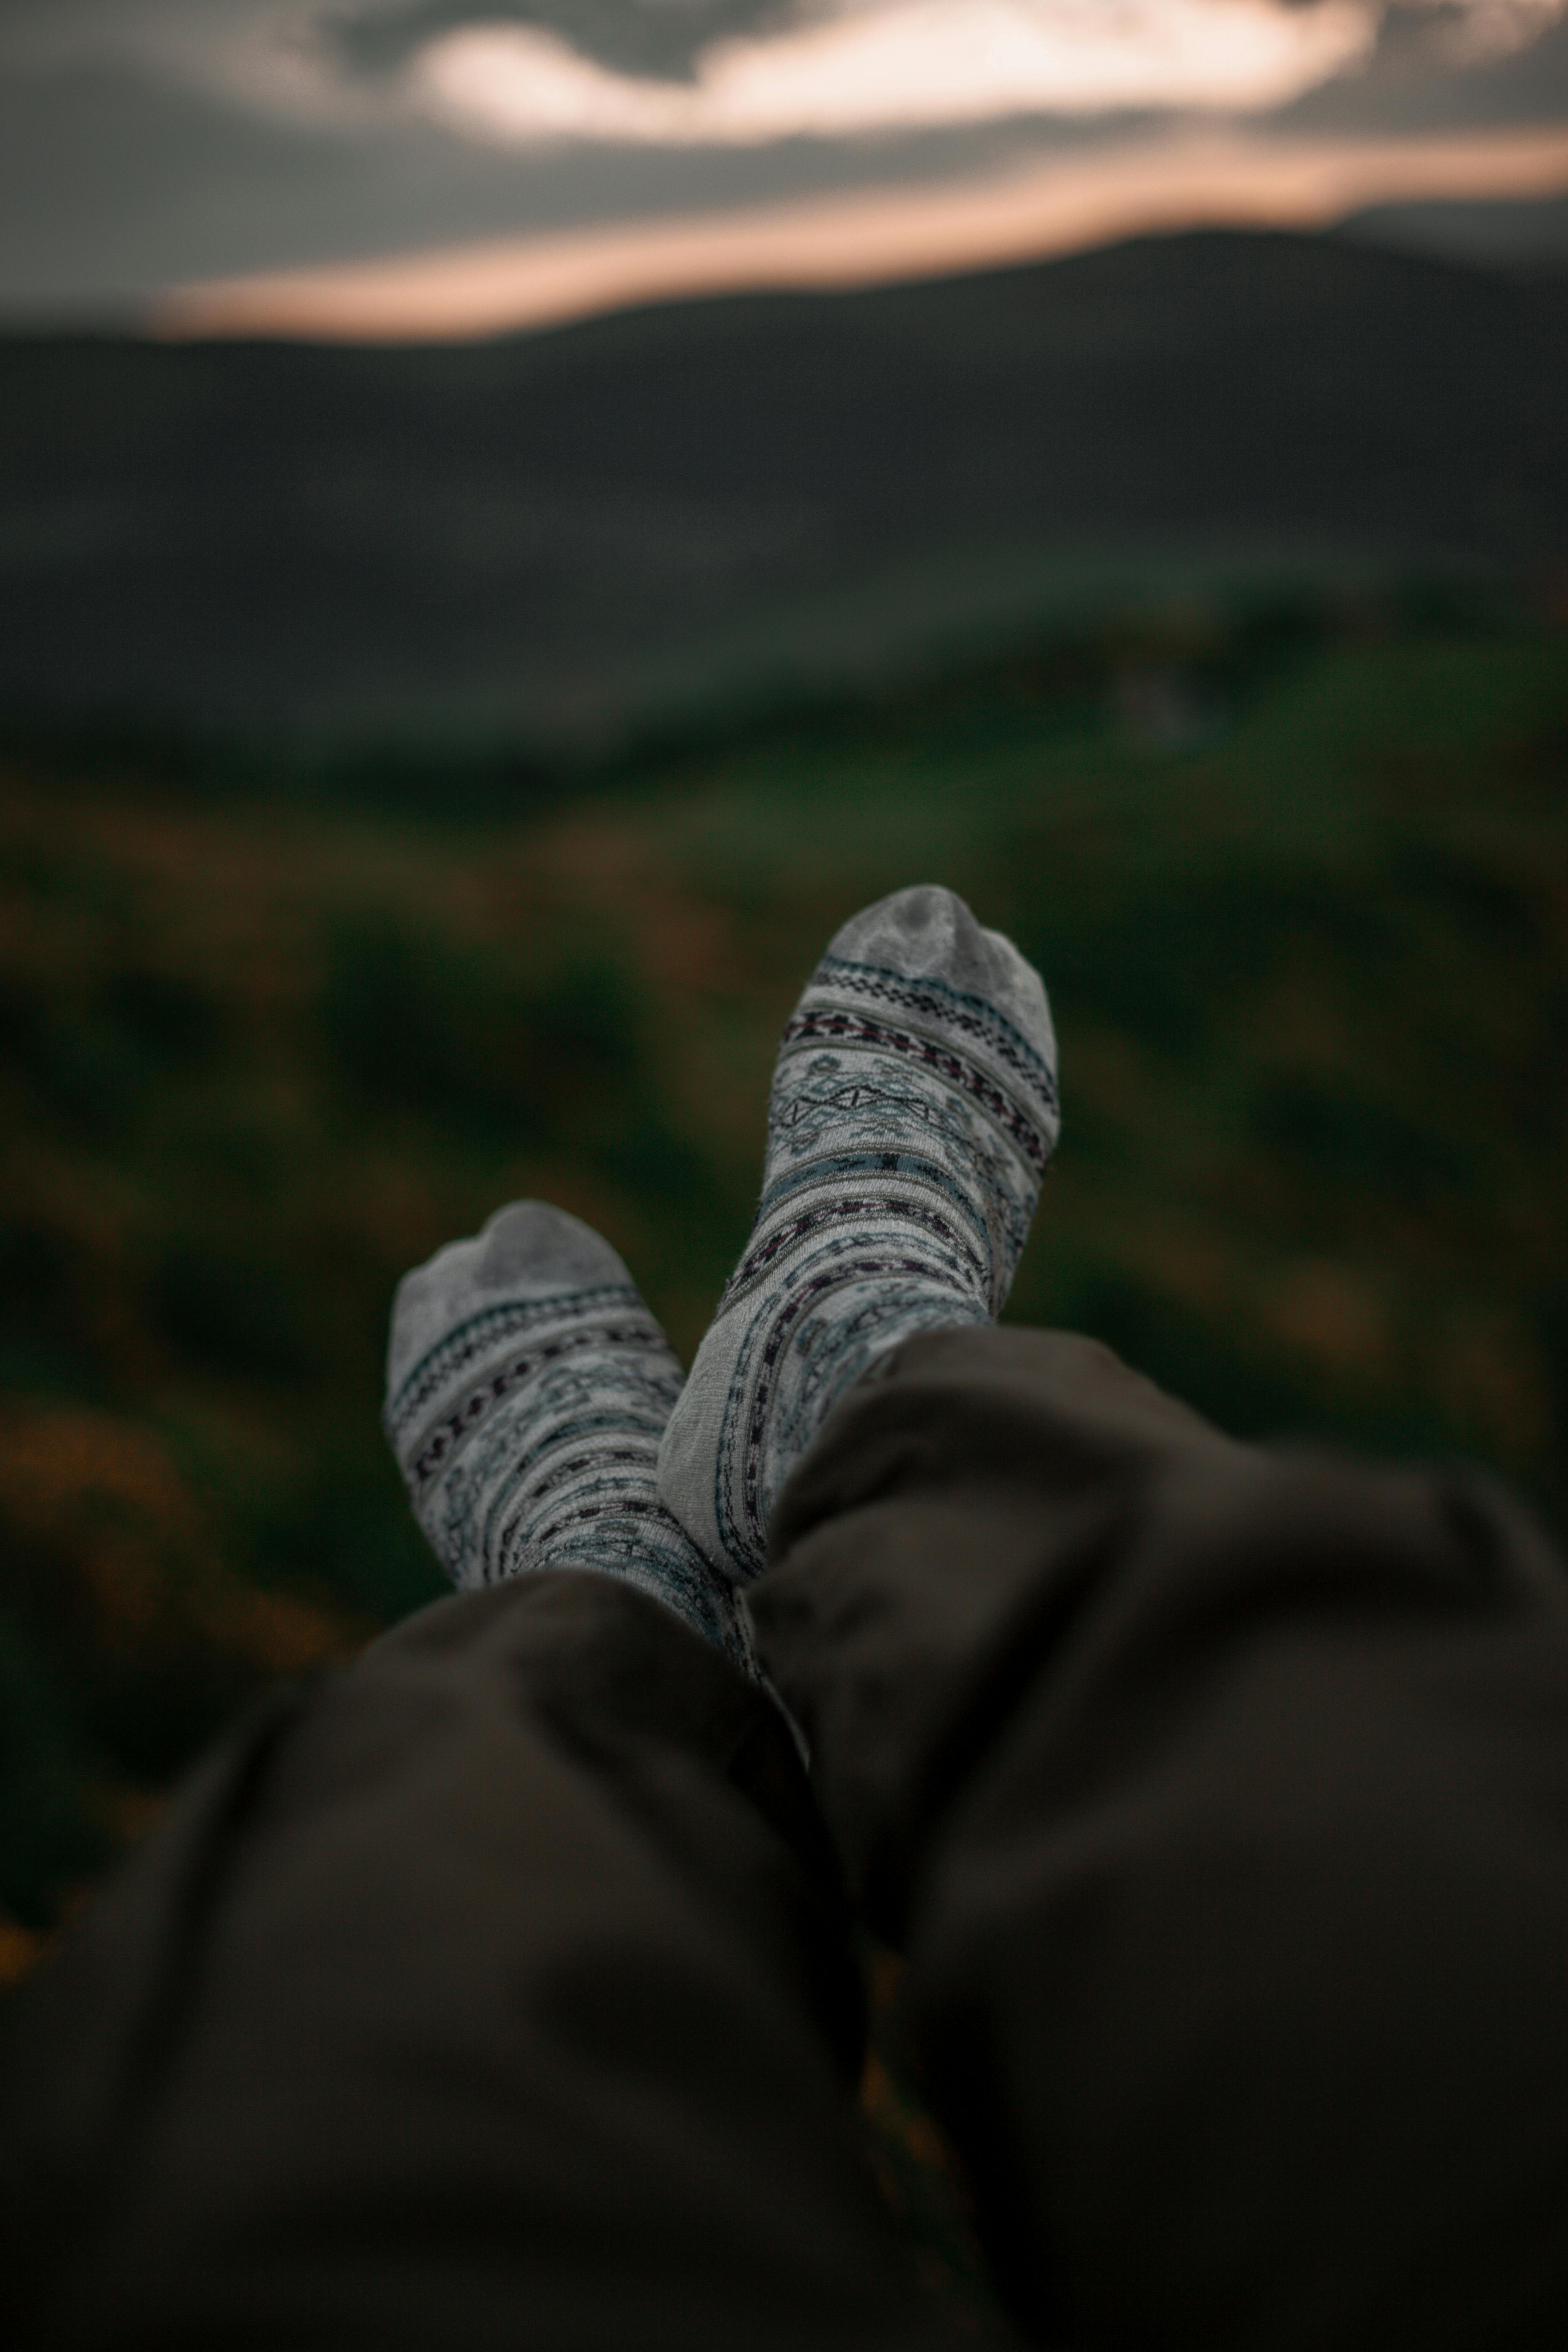
The Sock Strategy: Using Thickness to Your Advantage
The socks you break boots in should be the socks you'll hike in. This sounds obvious but gets ignored constantly. People break boots in wearing thin everyday socks, then put on midweight hiking socks for the trip and find the boots suddenly feel too tight.
Two approaches work well:
- Single-sock system: A quality midweight merino hiking sock, the same one you'll hike in. Break the boot in to that exact sock and there are no surprises later.
- Two-sock system: A thin liner sock against the skin and a midweight wool sock over it. The two layers slide against each other instead of against your skin, which reduces blisters. If you plan to hike this way, break in this way.
Browse our men's hiking socks collection. Darn Tough and similar wool blends are what we recommend for both break-in and trail miles. For more on weights, materials, and fit, see our complete guide to choosing hiking socks.
Progressive Mileage: Building Up to Full-Day Hikes
Once the boots feel okay on flat ground, add terrain gradually. Here's a sample progression for a full-grain leather boot you want trail-ready in about six weeks:
- Week 1: 2–3 hours of household and sidewalk wear. No trails.
- Week 2: Two 1-hour flat walks. Watch for hot spots.
- Week 3: One 2-hour hike on an easy trail with mild elevation.
- Week 4: One 3–4 hour hike with real elevation. Add the pack weight you'll carry on the trip.
- Week 5: One full-day hike (6+ hours). This is the real test.
- Week 6: Recovery week. Light wear only, address any lingering hot spots.
If you skip the easy weeks and jump straight to a full-day hike in new boots, you're betting your feet on luck. Most of the time, that bet doesn't pay off.
Hot Spot Management: Identifying and Addressing Problem Areas Early
A hot spot is the warning sign before a blister. You feel friction, your skin gets warm, and there's no pain yet. In another mile, that spot becomes a blister. Stop and address hot spots the moment you notice them. Common spots and what causes them:
- Back of the heel: usually a heel-lift problem. Tighten the upper laces or try a thicker sock.
- Top of the toes: toe box pressure. The boot may be too short or laced too tight across the toes.
- Outside of the little toe: the boot is too narrow at the forefoot.
- Bottom of the foot: usually a sock problem, not a boot problem. Wool socks beat cotton every time.
Apply moleskin or a blister bandage directly to the hot spot before it becomes a blister. Carry these in a small first aid kit on every hike, they weigh almost nothing and can save a trip.

When "Breaking In" Is Actually a Fit Problem (Red Flags)
Some pain is normal during break-in, mild stiffness, the boot feeling firm, the leather working its way into shape. Other pain isn't normal and won't go away with more miles. If you're not sure whether the issue is fit or break-in, our men's hiking boot sizing guide walks through the three tests we use in-store to check.
Red flags that the boot doesn't fit:
- Toes hit the front of the boot on downhills. The boot is too short. Return it.
- Heel lifts more than a quarter inch when walking. The boot is too loose in the heel or you need a different last shape.
- Numbness in the foot. Too tight across the top or sides. The leather may stretch slightly, but if you're losing feeling in mile one, it's not the right boot.
- Sharp pain at the arch. Arch-support mismatch. Try a different brand or an aftermarket insole.
- Blister at the same spot every walk. Persistent friction in the same place is a fit problem, not break-in.
Most retailers, Alpenglow included, have return policies that allow returns on lightly worn boots. If you're in the early break-in phase and the boot clearly isn't right, return it before you put serious miles on it.
Accelerating Break-In for Upcoming Trips (Emergency Methods)
Sometimes the trip is two weeks away and the new boots just arrived. You can't do a six-week break-in. Here's how to compress it safely.
- Wear them every day for two weeks. Around the house, to the office, on errands. Aim for 3–5 hours daily.
- Add a long walk every other day. 45 minutes to an hour on pavement or easy paths.
- Do one shakedown hike. 3–4 hours on a real trail, with the pack weight you'll carry on the trip. This catches problems while you still have time to address them.
- Pack blister supplies. Moleskin, hydrocolloid bandages, tape, and an extra pair of socks.
- If something feels wrong on the shakedown, don't take the boots. Borrow, rent, or wear your trusted older pair.
Ready to start the break-in process the right way? Browse our men's hiking footwear collection, or jump straight to the backpacking shoes subcategory if you need real ankle support and protection for a longer trip. Our staff in Bangor and Bar Harbor hikes the same trails you do and can help you pick a boot that won't fight you on break-in.

FAQ
How long does it take to break in men's hiking boots?
It depends on the boot. Trail running shoes need essentially no break-in. Light synthetic hikers need 5–15 miles. Mid-cut day hikers need 15–25 miles. Full-grain leather backpacking boots can take 20–40 miles to fully shape to your foot. Plan based on the boot you bought.
Should I wear new hiking boots on a long hike?
No. A long hike in new boots is the most common cause of trip-ending blisters and bruised toenails. Always break them in with progressive shorter walks, house wear, sidewalk walks, then short trails, before any all-day or multi-day trip.
How do I stop blisters when breaking in new boots?
Wear quality wool or wool-blend socks (no cotton), keep your feet dry, and stop to apply moleskin the moment you feel a hot spot, don't wait for the blister. A liner sock under your hiking sock can also reduce friction. Most break-in blisters come from skipping early hot-spot management.