Fall Hiking Footwear Maintenance: Preparing Your Boots for Wet Leaves and Mud Season
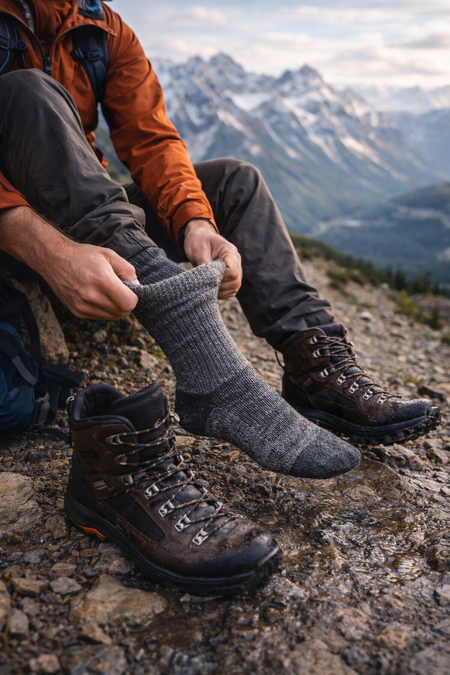
Fall hiking is one of the best seasons to be out, but it’s also the season that quietly destroys neglected footwear. Wet leaves hold water like a sponge, mud works grit into seams, and repeated soak-dry cycles can break down leather, adhesives, and waterproof membranes. Good hiking boot maintenance in autumn is less about making boots look new and more about preserving fit, traction, and waterproof performance when the trail is at its messiest.
This guide focuses on practical, field-tested hiking boot care: how to clean hiking boots properly, when and how to do hiking boots waterproofing, and how to maintain hiking boots so they stay comfortable and reliable through wet trail conditions on Maine hiking trails and beyond.
Why fall is hard on boots (wet leaves, mud, and freeze-thaw)
Autumn hiking introduces a combination that’s uniquely abrasive: constant moisture plus fine grit. Mud carries sand and organic debris that act like sandpaper on uppers and stitching. Wet leaves trap water against the boot for long stretches, overwhelming surface treatments and keeping leather saturated. Add cold nights and warmer daytime temps, and you get repeated freeze-thaw and soak-dry cycles that accelerate cracking and delamination.
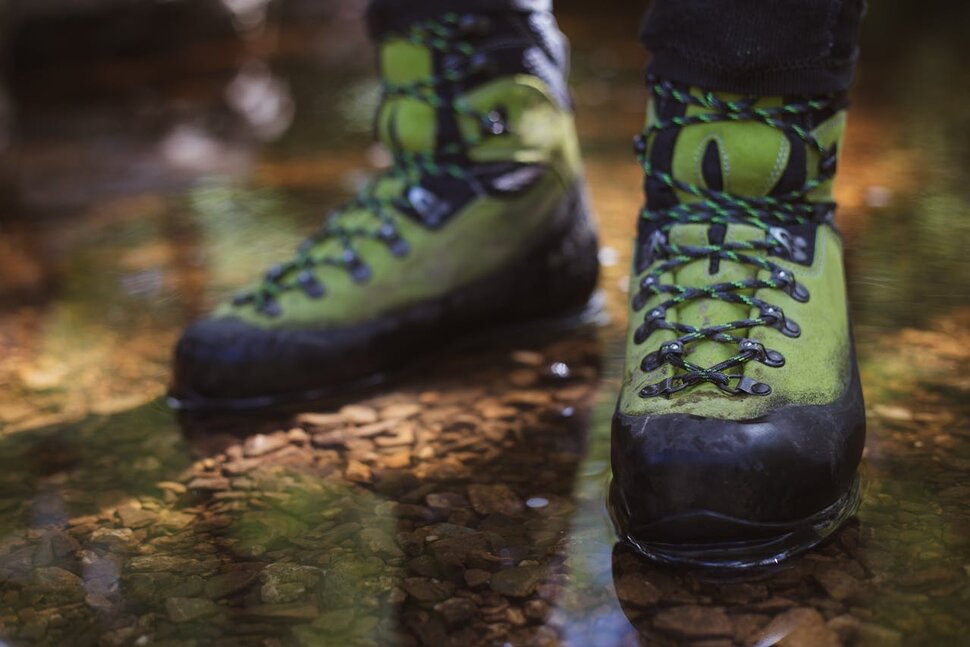
Even waterproof hiking boots aren’t immune. A waterproof membrane helps keep water out, but the boot still needs the outer materials and DWR (durable water repellency) to shed water. When the face fabric “wets out,” the boot feels colder and clammy, and breathability drops—even if the membrane is intact. That’s why fall hiking boots benefit from routine cleaning and periodic re-waterproof boots steps.
Know your materials before you start
Cleaning hiking boots and waterproofing them correctly depends on what they’re made of. If you’re unsure, check the manufacturer label or product page. The three most common categories:
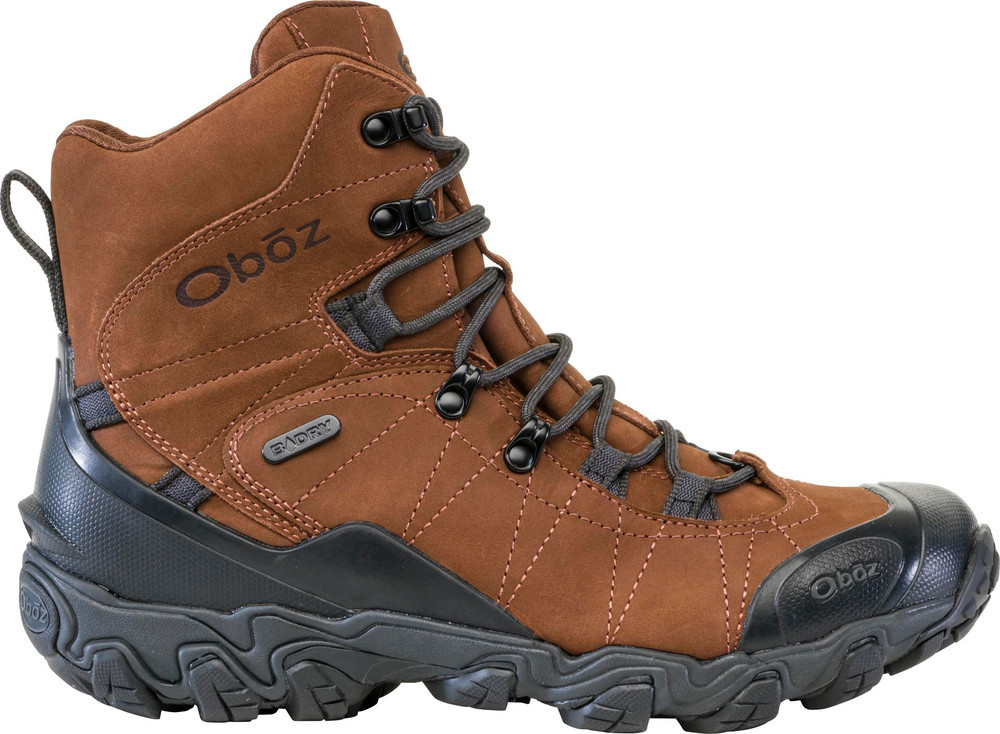
- Full-grain leather boots: durable and supportive, but they need conditioning to prevent drying and cracking. Over-saturating with heavy waxes can reduce breathability and soften structure if overdone.
- Nubuck/suede leather: more sensitive to oils and heavy waxes; it usually does best with water-based cleaners and spray-on waterproofing designed for textured leather.
- Synthetic/fabric boots: often dry faster; rely heavily on DWR and benefit from spray-on treatments. Mud and grit can still abrade fabrics and seams.
Also note: “Waterproof” typically means there’s a membrane (like Gore-Tex or similar). “Water-resistant” generally means there isn’t, or the build isn’t sealed. Either way, fall boot maintenance matters.
A quick pre-season checklist
Before the first long autumn hiking day, take ten minutes to inspect your boots. Catching problems now can prevent a wet, miserable outing later.
- Outsole tread: if lugs are rounded or uneven, traction on wet leaves drops fast.
- Rand and toe cap: look for gaps or peeling where mud and water can pry further.
- Upper stitching: frayed threads and separated seams are early warning signs.
- Eyelets/hooks: bent or loose hardware can cut laces or create pressure points.
- Insoles: check for permanent compression or odor; fall moisture magnifies both.
- Waterproofing condition: if water no longer beads on the surface, plan on hiking boots waterproofing soon.
Boot cleaning guide: how to clean hiking boots the right way
A proper cleaning does more than remove dirt. It prevents premature wear, helps your boots dry, and sets you up for successful waterproofing. The biggest mistake is waiting until mud hardens or using harsh detergents that strip treatments and dry out leather.
Step 1: Knock off debris immediately after the hike
When you get back to the car or trailhead, tap boots together and remove chunks of mud. On many Maine hiking trails, especially after rain, mud can be full of fine grit. The sooner you remove it, the less time it has to grind into stitching and flex points.
Step 2: Remove laces and insoles
For thorough hiking boots cleaning, pull the laces out and take insoles out. This lets the tongue and eyelet area dry, and it exposes grit that tends to hide under the tongue where it can abrade fabric and cause pressure points.
Step 3: Dry-brush first, then rinse
Start with a soft brush (or a boot brush) to remove dry dirt. Then rinse with lukewarm water. Avoid blasting boots with high-pressure hose streams; forcing water into seams can do more harm than good.
Step 4: Use a footwear-specific cleaner when needed
If the boots are stained with oily mud, trail grime, or salt (from early-season road walk sections), use a cleaner made for technical footwear. Household detergents can leave residues that reduce DWR performance and can dry out leather.
- Leather: use a cleaner appropriate for leather type (full-grain vs. nubuck/suede).
- Fabric/synthetic: use a gentle footwear wash or cleaner; avoid strong degreasers.
Work the cleaner in with a brush, especially around the toe flex line, heel cup, and along the rand where mud tends to pack.
Step 5: Clean the outsole and the lug channels
Traction is a safety issue in wet trail conditions. Wet leaves can be as slick as ice on rock. Use a brush or a stick to clear packed mud from the lug channels, especially in the midfoot. If mud dries there, it reduces grip and makes your stride less stable.
Step 6: Rinse thoroughly
Any soap residue can attract dirt and interfere with hiking boots waterproofing treatments. Rinse until water runs clear.
Step 7: Dry slowly and correctly
Drying is where many boots get damaged. Do not place boots on a heater, woodstove, radiator, or in direct hot sun. Excess heat can shrink leather, warp midsoles, and weaken adhesives.
- Remove insoles.
- Loosen the tongue and open the boot wide.
- Stuff loosely with paper (swap it as it dampens) to wick moisture.
- Let dry at room temperature with good airflow.
If you hike multiple days in a row, a boot dryer on a low, gentle setting can help, but avoid high heat.
When to re-waterproof boots (and how to test)
Re-waterproof boots when the surface stops beading water, when the boot “wets out” quickly, or after a deep cleaning that strips surface treatments. A simple test:
- Make sure the boots are clean.
- Drip a small amount of water onto the upper.
- If water beads and rolls off, your surface repellency is still functioning.
- If it darkens and spreads into the material quickly, plan to re-waterproof boots.
Remember: a membrane can still keep water from entering, but a wetted-out outer will feel colder and heavier, and you’ll lose breathability—common complaints with waterproof hiking boots in autumn hiking.
Hiking boots waterproofing: choosing the right treatment
Waterproofing products generally fall into two categories: spray-on and wax/cream. The best choice depends on your boot’s materials and your priorities for breathability and support.
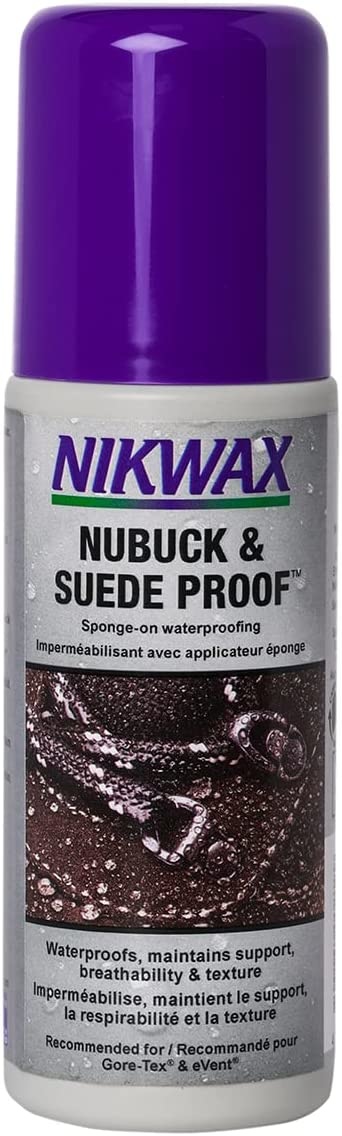
Spray-on waterproofing
Sprays are ideal for most synthetic/fabric boots and nubuck/suede leather because they help maintain breathability and don’t flatten the texture. They’re also a good default for many waterproof hiking boots with fabric panels.
- Best for: fabric boots, mixed-material boots, nubuck/suede.
- Pros: maintains breathability; easy to apply evenly.
- Cons: may require more frequent reapplication in harsh mud season.
Wax/cream waterproofing
Waxes and creams work well on full-grain leather, adding water resistance and helping prevent drying and cracking. Some leather treatments are also conditioning products. Be cautious using heavy wax on nubuck/suede (it can permanently darken and smooth the texture).
- Best for: full-grain leather fall hiking boots.
- Pros: durable water resistance; can extend leather life.
- Cons: can reduce breathability; can soften leather if over-applied.
How to apply waterproofing (a reliable method)
Most waterproofing failures come down to poor prep. Treatments bond best to clean materials, and many work best on boots that are slightly damp.
- Start with clean boots: follow the boot cleaning guide steps above.
- Check the instructions: each product is different about damp vs. dry application.
- Apply evenly:
- Spray: hold the bottle at the recommended distance and coat seams, toe flex area, and around the tongue gusset thoroughly.
- Wax/cream: use a cloth or fingers to work product into leather, paying attention to stitching and flex points.
- Don’t overdo it: multiple thin coats are usually better than one heavy coat.
- Let it cure: allow full drying/cure time before hiking. If you treat boots the night before a wet hike, you may not get full performance.
If you’re preparing for consistently soggy conditions, it’s smart to waterproof early in the season rather than waiting until you’re already hiking in mud every weekend.
Leather conditioning: keeping structure without turning boots to mush
Leather needs moisture balance. Too dry and it cracks; too saturated and it can lose structure. Conditioning is part of hiking boot care, but it should be intentional.
- Condition when: leather looks dry, feels stiff, or shows light surface cracking at flex points.
- Avoid over-conditioning: overly soft leather can reduce support, especially in the ankle and midfoot.
- Pair with waterproofing: some leather treatments combine conditioning and waterproofing; others are separate steps.
If your boots are a mix of leather and fabric, prioritize treatments compatible with both, or focus wax/cream only on the leather panels and use a spray for fabric sections.
Pay attention to the tongue gusset and seams
Many “my boots leaked” reports in wet trail conditions come from water entering above the gusset or through neglected seam areas. During cleaning hiking boots, inspect:
- Tongue gusset height: if water is higher than the gusset, even waterproof hiking boots can flood from the top.
- Seam tape and liners: look for peeling interior seam tape (a sign of membrane issues).
- Toe flex seam: repeated bending can stress stitching and coatings.
Waterproofing products mainly improve the outer’s repellency. They won’t repair a torn membrane or a failed seam, but good maintenance can keep small problems from getting worse.
Laces, insoles, and odor control for damp autumn hiking
Boot maintenance isn’t just the shell. Fall means more moisture inside the boot, which leads to odor and slower drying.
- Laces: wash or replace when they get stiff with mud. Gritty laces can wear lace hooks and eyelets.
- Insoles: remove to dry after hikes. Consider replacing if they’re permanently compressed or hold odor.
- Drying routine: even waterproof hiking boots benefit from fully drying between outings. Persistent dampness increases odor and can degrade materials over time.
Common mistakes that shorten boot life
- Using heat to dry: causes cracking, delamination, and shrinkage.
- Skipping cleaning until the end of the season: mud and grit keep working on materials even when the boots sit.
- Using dish soap or laundry detergent: can strip oils and leave residues that reduce DWR performance.
- Over-waxing: can smother breathability and soften leather too much.
- Assuming “waterproof” means “maintenance-free”: membranes don’t replace routine hiking boot maintenance.
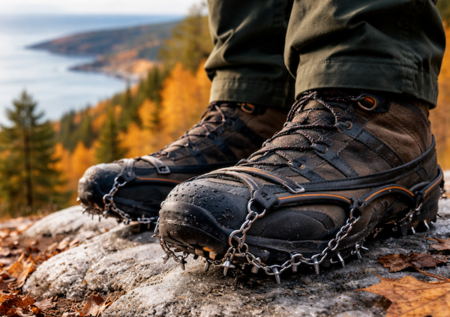
Autumn hiking in Maine: what wet leaves and mud mean for traction and safety
On Maine hiking trails, fall conditions often combine slick rock, wet roots, and leaf-covered tread. Leaf litter can hide holes and slippery surfaces, and mud can make sidehills feel unstable. Footwear maintenance helps indirectly: clean outsoles grip better, and boots that dry properly keep their structure and support.
If you notice frequent slipping even with clean soles, it may be a sign your outsole is worn past the point where maintenance can help. At that stage, consider whether a resole is possible (for certain boots) or whether it’s time to replace. Keeping your fall hiking boots in good condition is part of reducing risk in wet trail conditions.
How often should you clean and waterproof during mud season?
Frequency depends on how often you hike and how muddy it is, but a simple rhythm works for most people:
- After every muddy hike: quick rinse and brush, remove insoles to dry.
- Every few hikes (or after heavy mud): full hiking boots cleaning with a footwear-specific cleaner.
- When water stops beading: re-waterproof boots.
- Mid-season check: inspect seams, rands, and tread depth.
If you’re out every weekend in autumn hiking conditions, you may reapply a spray-on treatment more than once during the season. That’s normal—mud and abrasion wear it down.
Storing boots between hikes and after the season
Proper storage is part of hiking boot care. Damp storage encourages mildew and can weaken materials.
- Between hikes: dry completely, store in a well-ventilated area, and keep them loosely laced so they hold shape without staying compressed.
- End-of-season: clean thoroughly, dry fully, and store away from heat sources and direct sunlight. Leather boots may benefit from light conditioning before long storage if they’re dry.
When maintenance isn’t enough
Even with excellent hiking boot maintenance, boots have a lifespan. Consider professional help or replacement if you see:
- Persistent leaks after cleaning and waterproofing
- Cracked leather through the surface (not just dryness)
- Separated midsoles or peeling rands
- Outsole tread worn flat in key areas
- Loss of support that affects comfort or stability
If your boots are still structurally sound but need better wet-weather performance, a fresh waterproofing cycle plus consistent cleaning hiking boots routines often makes a noticeable difference.
Tools and supplies that make boot care easier
You don’t need a complicated kit, but a few basics make it more likely you’ll actually maintain hiking boots during busy weeks.
- Soft boot brush
- Footwear-specific cleaner
- Appropriate waterproofing treatment (spray or wax/cream)
- Old towels and paper for drying
- Spare laces and insoles if needed
If you’re restocking supplies, Alpenglow’s Gear Maintenance collection and Footwear Accessories section are useful places to browse the basics.
Final thoughts: make boot care part of the fall routine
Autumn hiking rewards you with cool temps and big views, but wet leaves and mud are relentless on footwear. A consistent routine—brush, rinse, dry correctly, and re-waterproof boots when beading fades—keeps waterproof hiking boots performing the way they’re supposed to. The payoff is simple: warmer feet, better traction, fewer blisters from damp liners, and boots that last more than a single season of wet trail conditions.
If you’re evaluating new fall hiking boots for Maine hiking trails, it can help to start with the right category and fit, then maintain them well from day one. For browsing current options, see Women’s Footwear and Men’s Footwear.
Leave a comment
Recent articles
View allTransitioning from Trail Runners to Hiking Boots: When to Make the Switch for Fall Adventures
MICROspikes vs. Trail Running Shoes: Traction Solutions for Acadia's Fall Trail Conditions